Halloween has become a beloved holiday in the United States, and many people celebrate it by showcasing their creativity through nail art. This trend embraces a variety of designs, from spooky themes to cute characters, allowing individuals to express their festive spirit.
Nail salons across the country offer unique Halloween designs, making it easy for anyone to get involved. DIY nail art has also gained popularity, as people enjoy crafting their spooky looks at home.
With the rise of nail stickers and wraps, even beginners can join in on the fun without needing professional skills. Overall, Halloween-themed nails provide a fantastic way for everyone to add a touch of festivity to their style during this spooky season.
1. Spooky Designs for Halloween Nails
Halloween is all about fun and fright, and nothing captures this spirit quite like spooky nail designs. Many people love to incorporate classic elements such as ghosts, bats, and skeletons into their nail art. These iconic symbols make Halloween nails instantly recognizable and festive. Combining multiple spooky designs creates a playful and creative look, allowing individuals to show off their Halloween spirit in a unique way.
Classic Spooky Elements
Classic spooky elements are essential for creating eye-catching Halloween nails. Ghosts are a popular choice, as their simple shapes are easy to paint. A white base with little black eyes creates an adorable ghost design. Bats are another favorite; their dark silhouettes look striking against a bright background. Painting bats flying across a dark blue or black nail can evoke a haunted night sky.
Skeletons add an edgy touch to Halloween nails. These designs can range from simple bone outlines to intricate patterns covering the entire nail. Using a mix of black and white polishes makes skeleton nails stand out. Finally, cobwebs add a creepy vibe to any design. A thin brush can create delicate spiderwebs over a solid color, giving a haunted effect.
Combining Multiple Designs
Combining multiple spooky designs allows for creativity and fun. One popular idea is to use a different design on each nail. For example, one nail can feature a ghost, another a bat, and yet another a spider. This variety keeps the look exciting and engaging.
Another way to combine designs is to create a themed set. A witch-themed set might include a ghost, a bat, a cauldron, and a witch’s hat. Each design can flow into the next, making a cohesive yet fun nail art display.
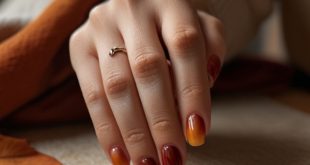
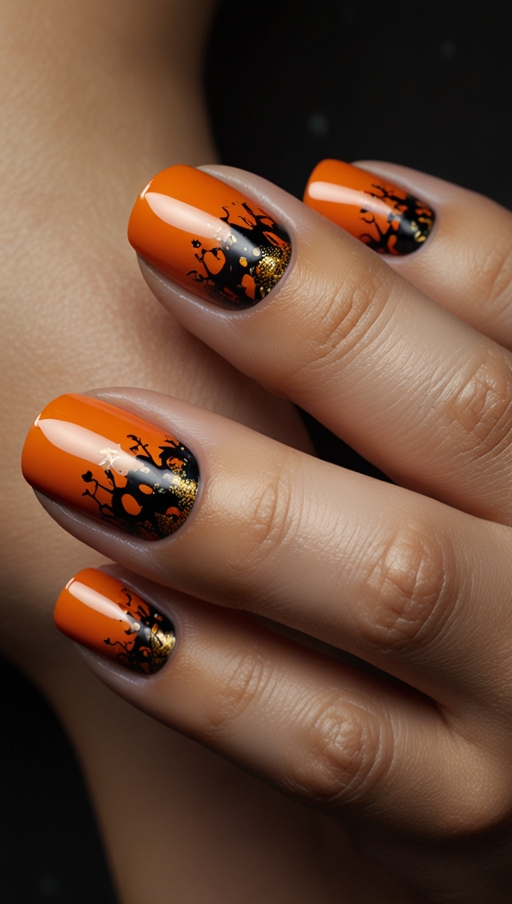
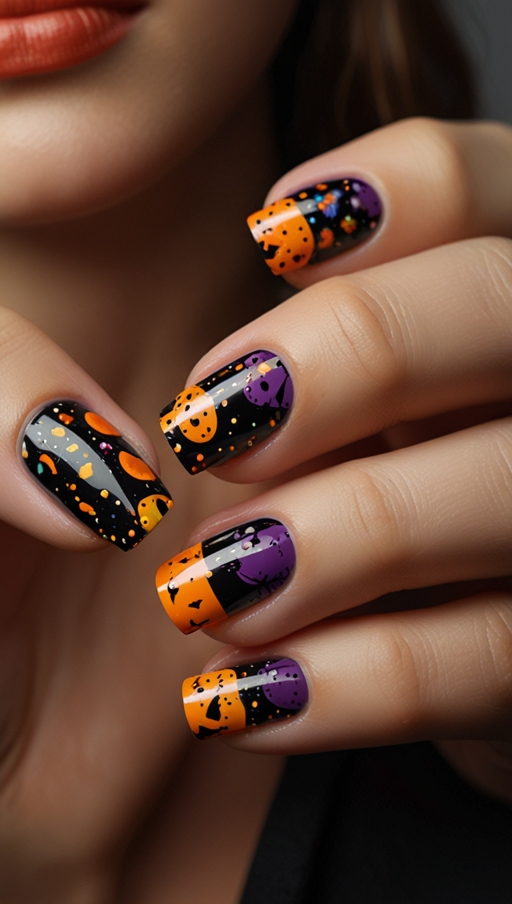
Using color gradients is also an excellent way to bring together various spooky designs. For instance, transitioning from orange to black can provide a fantastic background for ghost and skeleton designs. Overall, combining spooky elements creates a personalized Halloween look that showcases individual creativity and style.
2. Halloween Nail Color Trends
Halloween brings a variety of festive color choices that enhance nail art. The classic combination of black and orange remains a favorite among many, as it perfectly embodies the holiday spirit. Purple and green are also popular, adding a fun twist to traditional colors. For those looking to stand out, unconventional colors can still capture the Halloween vibe. Shades like deep red and glittering silver offer a unique approach to Halloween nail art, allowing creativity to flourish while keeping the spooky theme alive.
Popular Color Combinations
The most popular color combinations for Halloween nails include classic choices like black and orange. Black provides a dark, mysterious base, while orange adds a vibrant pop that resembles pumpkins. This combo is perfect for designs featuring ghosts or witches.
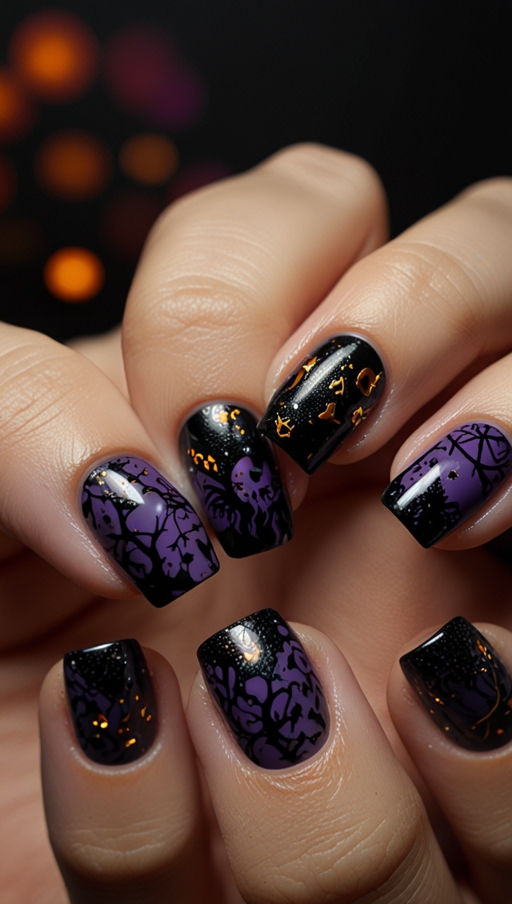
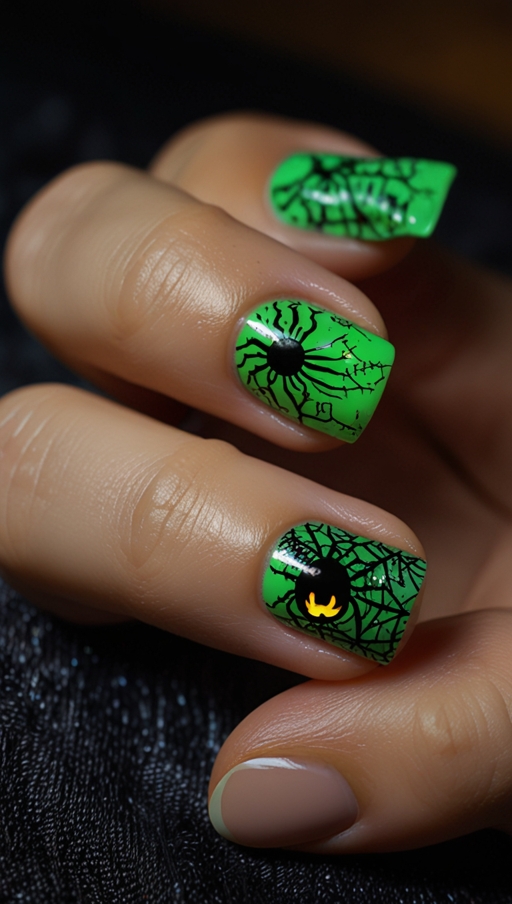
Purple and green are also common during Halloween. Purple evokes images of witches and magic, while green can represent monsters and creepy creatures. Together, they create a whimsical look that works well with various designs, such as spooky cauldrons or friendly little monsters.
Another popular combination is red and black. Red can symbolize blood and vampires, while black adds an edgy touch. This duo is perfect for a more gothic Halloween look, allowing for designs featuring skeletons or spider webs.
Unconventional Color Choices
Unconventional color choices can provide a fresh take on Halloween nail art. Shades like deep red create a sophisticated vibe while maintaining a spooky element. This color works well for elegant designs like bloody drips or vampire fangs.
Glittering silver is another unconventional option that can add sparkle to any Halloween look. Silver nails paired with dark colors can give a modern twist, making them perfect for partygoers who want to shine.
Pastel colors can also achieve a unique Halloween vibe. Light pinks, blues, or mint greens can create a cute and playful aesthetic. Pairing pastels with spooky designs like cute ghosts or candy corn makes for an inviting and fun approach to Halloween nails.
Overall, exploring various color combinations and unconventional choices can elevate Halloween nail art, allowing for a mix of traditional and modern styles that fit any personality.
3. Glow-in-the-Dark Halloween Nail Ideas
Glow-in-the-dark polishes add an exciting twist to Halloween nail art by making designs visible even in the dark. These special polishes contain phosphorescent materials that absorb light and release it slowly, creating a glowing effect. Many people enjoy using glow-in-the-dark nails for Halloween parties, as they make a fun statement. You can find these polishes at beauty supply stores, online retailers, and some craft stores. Creating designs that look great both in the light and when glowing is easy with a little planning and creativity.
How Glow-in-the-Dark Polishes Work
Glow-in-the-dark polishes work by using phosphorescent materials that absorb light and store it. When you apply the polish to your nails, it needs to charge in the light for a short period. After charging, the polish will glow when the lights go out. Most glow-in-the-dark polishes come in various colors, allowing for creative designs. Look for brands that are specifically labeled as glow-in-the-dark to ensure you get the right effect.
Tips for Creating Stunning Glow-in-the-Dark Designs
To create designs that look great in the light and glow in the dark, start with a solid base color. A white or light base coat works well because it helps the glow stand out. After applying the base coat, choose your favorite glow-in-the-dark polish for the designs. You can paint spooky elements like ghosts, bats, or cobwebs using this special polish.
To enhance the design, consider using regular nail polish for the details. For example, paint a ghost with glow-in-the-dark polish and add eyes or other features with black or colored polish. This contrast creates a striking look when the lights are on and adds an exciting surprise when they turn off.
For those who want to make the most of their glow-in-the-dark nails, applying a top coat can help seal the design. Just make sure to use a clear top coat that won’t dull the glow. Finally, remember to charge your nails by exposing them to light before heading out for Halloween fun. This way, you’ll ensure your nails shine bright in the dark, making your Halloween look even more festive and exciting.
4. Easy DIY Halloween Nail Art for Beginners

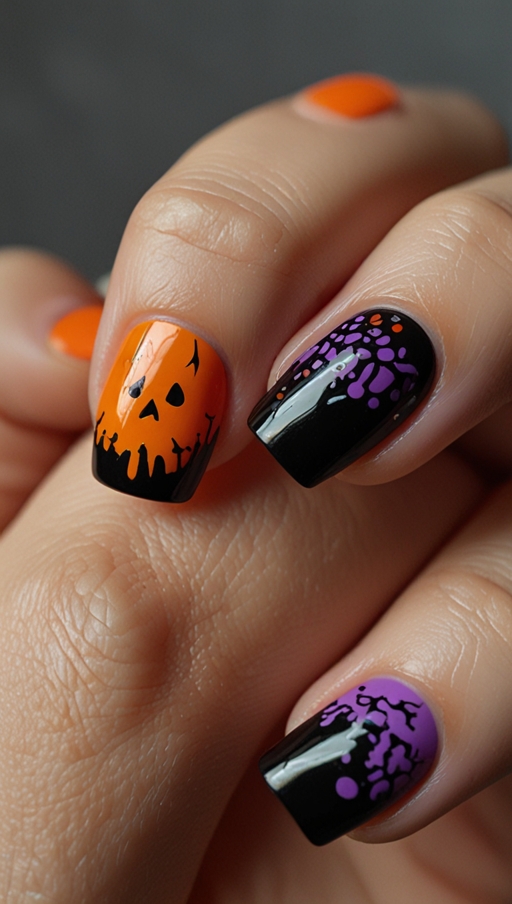
Creating fun Halloween nail art at home is simple and enjoyable for beginners. Popular designs like jack-o’-lanterns, black cats, and candy corn allow everyone to express their creativity. Basic tools and materials make the process accessible, even for those who have never done nail art before. Using regular nail polish, a few brushes, and some patience, anyone can achieve festive nails that are perfect for Halloween.
Step-by-Step Instructions for Simple Designs
Jack-o’-Lanterns are a classic Halloween design that’s easy to paint. Start with a bright orange base coat on your nails. Once it dries, use a thin brush or a toothpick to add a green stem at the top and small black eyes and a smile. This simple design captures the essence of Halloween and can be completed in minutes.
Black Cats are another easy option. Begin with a black base coat. Once it dries, use a white polish to create two large eyes near the base of the nail. Add small details like a nose and whiskers with a fine brush. If you want to make it even cuter, you can add a tiny collar with a sparkly color.
For Candy Corn, start with a white base coat. Once that dries, use a thin brush to create triangular shapes using yellow and orange polish at the tip of the nail. This design is not only festive but also playful and fun to look at.
Tools and Materials for Beginners
Beginners can start with a few basic tools and materials. Here’s what you need to get started:
- Nail Polish: Choose colors like orange, black, white, yellow, and green for Halloween designs. Regular nail polish works well for these simple designs.
- Nail Brushes or Toothpicks: Thin brushes or toothpicks help create fine details like eyes or patterns.
- Base Coat and Top Coat: A clear base coat protects your nails and helps the color adhere better. A top coat adds shine and durability to your designs.
- Nail Wipes or Remover: These are useful for cleaning up any mistakes around the edges.
- Paper Plate or Mixing Palette: Use this to pour out small amounts of nail polish when mixing or to use as a palette for your designs.
Starting with these simple designs and tools can make DIY Halloween nail art fun and stress-free. Get creative and enjoy the process of making your nails festive for the holiday!
5. Halloween Nail Stickers and Wraps
Nail stickers and wraps are great alternatives to hand-painted designs for Halloween nail art. Many people love these products because they provide fun and festive designs without the need for painting skills.
Brands specializing in Halloween-themed nail wraps offer a variety of spooky designs that make it easy to celebrate the season. Applying and removing these stickers and wraps is simple, making them a popular choice for anyone looking to achieve great-looking nails quickly.
Applying Nail Stickers and Wraps
Applying nail stickers and wraps is straightforward, which makes them perfect for beginners. Start with clean, dry nails. Apply a clear base coat to protect your nails and help the stickers adhere better.
Once the base coat dries, choose your favorite sticker or wrap. If you’re using a wrap, peel it off the backing carefully. Place the sticker or wrap on your nail, aligning it as needed. For wraps, gently stretch them to fit your nail shape.
After positioning, press down firmly to remove any air bubbles. You can use a nail file to trim any excess wrap hanging over the edges of your nails. Finish with a clear top coat to seal the design and add shine. This process ensures your nail art looks great and lasts longer.
Removing Nail Stickers and Wraps
Removing nail stickers and wraps is easy. Start by soaking a cotton ball in nail polish remover. Place the soaked cotton ball on the nail with the sticker or wrap for about 10-15 seconds to loosen the adhesive.
Gently peel the sticker or wrap away from your nail. If any residue remains, simply use a little more nail polish remover to clean it off.
Recommended Brands for Halloween Designs
Several brands offer high-quality Halloween-themed nail stickers and wraps. Sally Hansen is known for its fun and colorful designs, perfect for Halloween.
Incoco provides a wide range of nail wraps that come in various spooky patterns. Nail Art Society offers unique stickers that are great for adding a creative touch.
Mia Secret is another brand that features Halloween-themed nail wraps that are easy to apply and remove. These brands make it easy for anyone to achieve festive nails without the mess of traditional nail polish.
6. 3D Halloween Nail Art Ideas
3D nail art adds an exciting dimension to Halloween designs, allowing for creative expression through unique embellishments. Popular elements include spider charms, skulls, and fake blood drips. Many people enjoy using these 3D elements to make their Halloween nails stand out at parties and events. Securing these embellishments properly is crucial for long-lasting wear, ensuring that your spooky designs remain intact throughout the festivities.
Popular 3D Elements
Spider charms are a favorite for Halloween nail art. These little decorations can be attached to a variety of designs, making them perfect for creating a creepy effect. Whether you opt for shiny black spiders or colorful versions, they add a fun twist to any nail look.
Skulls are another popular choice for 3D embellishments. You can find small skull charms that are easy to attach to your nails. They work well with a variety of base colors and nail art styles, making them versatile for different designs.
Fake blood drips are perfect for creating a spooky and gory effect. You can achieve this look using red nail polish or specialized 3D gel that mimics blood. Applying these drips can transform an otherwise simple design into something truly eye-catching.
Securing 3D Embellishments for Long-Lasting Wear
Securing 3D embellishments is key to ensuring they stay on your nails for the duration of your Halloween festivities. Start by applying a strong base coat to create a solid foundation for your nails. After your base color has dried, carefully place your 3D elements where desired.
For charms, use nail glue to secure them in place. Apply a small amount of glue to the charm and press it onto the nail firmly. If you’re using fake blood drips, make sure to allow each layer to dry before adding more. This will help prevent smudging and ensure that the drips maintain their shape.
After applying all your 3D elements, finish with a generous layer of top coat. This helps to seal everything in and adds shine to your design. If you use a gel top coat, it can provide extra durability and protection for your embellishments.
Using 3D elements can elevate your Halloween nail art, making it more dynamic and exciting. With the right techniques for securing your embellishments, you can enjoy stunning nails that last throughout the spooky season.
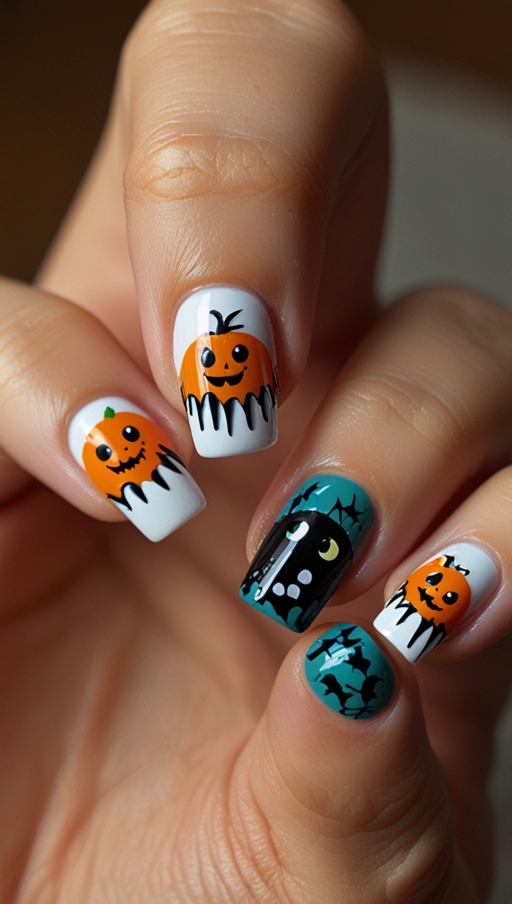
7. Cute vs. Creepy Halloween Nail Designs
Halloween nail designs can be categorized into cute and creepy styles, each appealing to different tastes and occasions. Cute designs often feature cheerful elements like smiling pumpkins and candy corn, bringing a light-hearted vibe to the holiday. On the other hand, creepy designs, such as blood-spattered nails and spider webs, evoke a more haunting aesthetic. Knowing when to choose cute or creepy designs can help you match your nail art to various Halloween events and gatherings.
Cute Halloween Nail Designs
Cute Halloween nail designs are perfect for family-friendly events and gatherings where a playful atmosphere is encouraged. Smiling pumpkins can be painted in vibrant orange with happy faces, making them perfect for children’s parties or school events.
Candy corn designs are another adorable option. Using bright yellow, orange, and white, you can create nail art that resembles this classic Halloween treat. These designs are fun and easy to achieve, making them great for beginners.
Cute nail art can also include friendly ghosts or playful bats. These designs are charming and invite smiles, creating a festive mood without being overly spooky. Choosing cute designs helps convey a fun spirit and is suitable for a variety of social settings.
Creepy Halloween Nail Designs
Creepy Halloween nail designs are ideal for events where a more frightening or edgy look is desired. Blood-spattered nails are a popular choice for those wanting to create a shocking effect. You can achieve this look by using red polish and splattering it onto a darker base coat, like black or deep purple.
Spider webs can add a spooky element to your nails. This design can be done using white polish on a dark base, giving the appearance of intricate webs. Adding tiny spider charms can enhance the creepiness.
Choosing creepy designs is perfect for Halloween parties, haunted houses, or any event that embraces a more sinister theme. These designs allow you to express your dark side and get into the Halloween spirit.
In summary, the choice between cute and creepy nail designs can depend on the nature of the event you are attending. Cute designs are great for light-hearted celebrations, while creepy styles suit darker, more thrilling gatherings. Knowing when to choose each style can help you create the perfect Halloween look.
8. Gothic-Inspired Halloween Nails
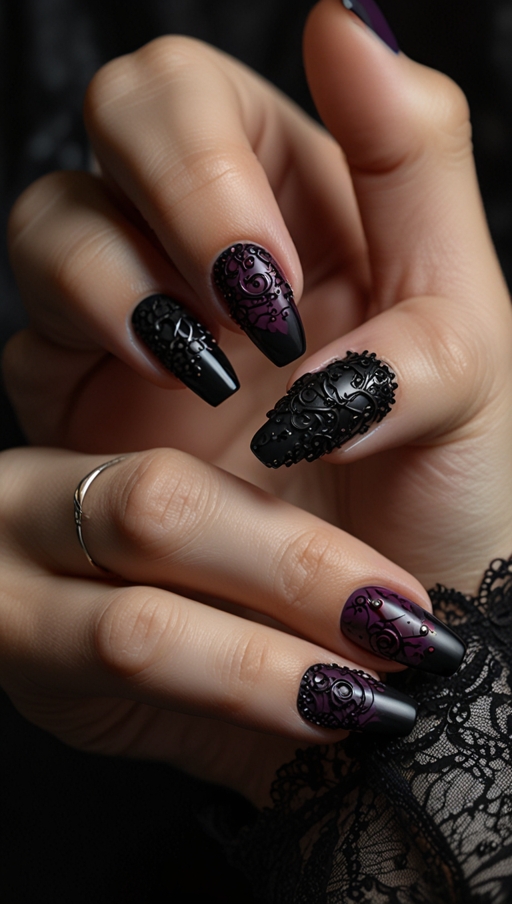
Gothic-inspired nails bring a dramatic flair to Halloween celebrations through the use of rich dark tones, intricate lace patterns, and striking metallic details. Many people are drawn to Gothic designs for their elegance and edge. These nail art styles not only fit the Halloween aesthetic but also transition beautifully into fall fashion. Wearing Gothic nails allows for a bold statement that can be appreciated beyond the spooky season.
Gothic Nail Design Elements
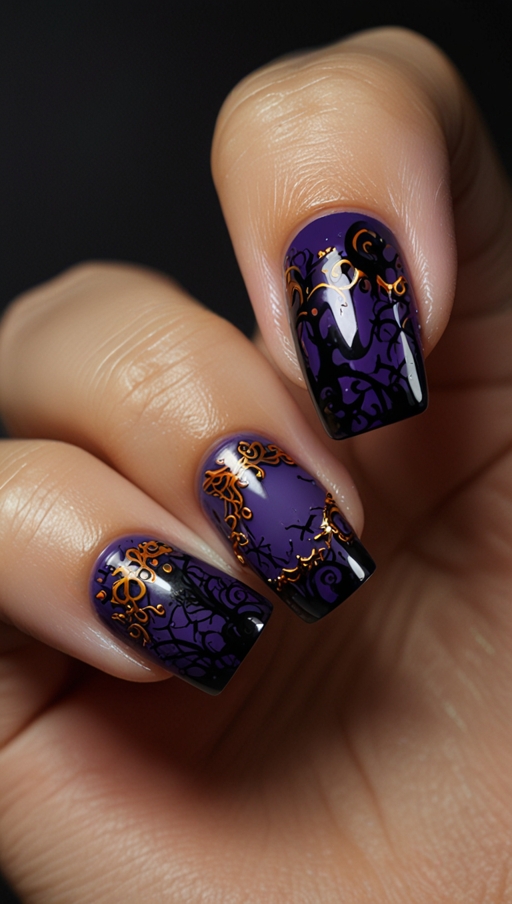
Gothic nail designs are characterized by their use of deep, dark colors like black, burgundy, and navy blue. These shades create a moody base that sets the tone for the overall design. Lace patterns can be added to these dark bases for a touch of femininity and intricacy. You can achieve this look using nail art brushes or stamping plates that feature lace designs.
Metallic details are also popular in Gothic-inspired nails. Gold, silver, and even iridescent hues can be incorporated into designs for added dimension and flair. You can use metallic polish to create accents or intricate designs that complement the darker tones.
Studs and spikes can also enhance the Gothic vibe, giving a punk rock edge to your nail art. These elements can be applied strategically to create a unique and stylish look that stands out.
Wearing Gothic Nails Beyond Halloween
Gothic-inspired nails can easily transition into a fall trend, making them a stylish choice well after Halloween. The dark color palette pairs beautifully with fall outfits, particularly when layering cozy sweaters and jackets.
Many people embrace Gothic styles for everyday wear, attending events like concerts, art exhibitions, or even casual gatherings. Gothic nails allow for self-expression and can be adapted to fit various occasions.
Incorporating elements like lace and metallics ensures that your nail art remains fashionable and sophisticated. As fall approaches, Gothic-inspired nails can complement the seasonal shift, offering a chic and edgy alternative to traditional autumn nail designs.
9. Halloween Nails for Kids
Creating fun and safe Halloween nails for kids can be a delightful experience. Age-appropriate nail art often includes friendly ghosts, smiling pumpkins, and colorful candy corn. Choosing the right products is crucial, so non-toxic nail polishes and temporary stickers are excellent options for young ones. These choices ensure that the nail art is not only enjoyable but also safe for little hands. Making Halloween nails a family activity can create lasting memories while keeping it fun and light-hearted.
Fun and Safe Nail Art Ideas for Kids
There are plenty of creative and age-appropriate nail art ideas that kids will love. Friendly ghost designs are a classic choice. Children can easily paint small white ghosts with happy faces on their nails. Using black polish for the eyes and mouth adds an adorable touch.
Smiling pumpkins are another fun option. Kids can paint their nails in bright orange and add faces with green stems. This design is simple and allows kids to get creative with different expressions.
Colorful candy corn can be a playful design as well. Using yellow, orange, and white, children can paint their nails in the shape of this popular Halloween treat. These designs are not only fun but also encourage creativity and artistic expression.
Kid-Friendly Nail Products
When it comes to choosing nail products for kids, safety should always come first. Look for non-toxic nail polishes that are specifically made for children. These products are free from harmful chemicals, making them safer for young users. Many brands offer fun colors and finishes that kids will love.
Temporary nail stickers are another great option. They are easy to apply and remove, allowing kids to change their designs frequently without the mess of traditional polish. Many stickers come in festive designs that align perfectly with Halloween themes.
Encouraging children to get involved in the nail art process can make for a fun family activity. Supervision is essential, especially for younger kids, to ensure they apply the products safely. With the right ideas and products, Halloween nails for kids can be a joyful and memorable experience.
10. Best Halloween Nail Polishes and Tools
Finding the right products is essential for achieving stunning Halloween nails. Popular Halloween-themed nail polishes often come in colors like deep orange, spooky black, and vibrant purple. Nail art tools, such as brushes and dotting tools, are vital for creating intricate designs. Many nail enthusiasts love using glitters to add sparkle to their creations, making them perfect for Halloween festivities. Knowing where to buy these products can make the shopping experience smoother and more enjoyable.
Top Halloween-Themed Nail Polishes
When it comes to Halloween-themed nail polishes, several brands stand out. OPI offers a range of seasonal shades that are perfect for Halloween. Their deep blacks and rich oranges can set the mood for any spooky look.
Essie also has great options, featuring fun colors like “Wicked,” a deep red that can give a vampy vibe, and “Ballet Slippers,” a classic nude that can be paired with spooky designs.
Sinful Colors provides affordable and vibrant options, making them a favorite for budget-conscious nail artists. Their Halloween collection often includes glittery shades that add the perfect finishing touch to any design.
Nail Art Tools and Accessories
To create detailed Halloween nail art, you need the right tools. Nail art brushes are essential for painting fine lines and intricate designs. Look for sets that include various sizes for different effects.
Dotting tools are perfect for creating polka dots, eyes, and other small details. These tools are easy to use and great for adding fun elements to your designs.
Glitters are another must-have for Halloween nails. They can be sprinkled on wet polish for a sparkly finish or mixed into nail art for added dimension. Many brands offer Halloween-themed glitter mixes with colors that reflect the season.
Where to Buy Halloween Nail Products
You can find these products at various beauty supply stores, drugstores, and online retailers. Stores like Ulta and Sally Beauty often carry extensive selections of seasonal nail products.
Online platforms like Amazon and Etsy also provide unique options, including small brands and handmade items. Shopping online allows you to explore more choices and read reviews before making a purchase.
To achieve the best results, always start with a good base coat. This will help your nail polish last longer and look better. Follow up with a top coat to seal your designs and add shine. Taking these steps will ensure your Halloween nails are not only beautiful but also durable for all your Halloween activities.
Conclusion
Halloween offers a fantastic opportunity to express creativity through nail art. From simple DIY designs like smiling pumpkins and friendly ghosts to intricate 3D embellishments featuring skulls and spider charms, there is a wide variety of options to choose from. Kids can enjoy fun, age-appropriate nail art, while adults can explore more sophisticated designs using Gothic elements or glow-in-the-dark polishes.
Whether you prefer cute or creepy styles, the possibilities are endless. This Halloween, embrace the spirit of the season by getting creative with your nail designs. Experiment with different colors, tools, and techniques to make your nails a spooky statement. Let your imagination run wild and enjoy the festive fun that comes with Halloween nail art!